This is only a brief post to tell you the measurements for any skirt to go over pocket hoops, because of course your body shape has changed.
I've made two - a 'scummy' one from bottle-green linen, and a 'posh' one from silk brocade. These were both made in the same way as my other C18th skirts, it's just the hem that is different. Obviously it will vary depending on your height. I'm 5'4.5" and the hem of my skirts measure 40" at the front and 43" at the sides excluding hem allowance.
You can probably see in the photo that this skirt is decorated differently to others, I will explain how I did this in a future post about my pet en l'air.
Tuesday, 8 January 2013
Big Hips are Fashionable!
Last September I finally plucked up the courage to make myself some C18th pocket hoops so that I could start doing some 1750s/1760s reenactment if and when required. They only took a day - or a few period drama DVDs!
To get the measurements I stood in front of my mirror with a tape measure and played about to get the size I wanted. Excluding the boning channels, there are 3 pattern pieces to the pockets - the back, the front, and the bottom.

Measurements (excluding seam allowance)
Back: 10" long x 9" wide.
Front: 19" long x 18" wide.
Bottom (a 'D' shape): 9" along the straight x 18" on the curve.
I used a striped heavy cotton (ticking) fabric as the hoops will be under a lot of pressure throughout use. First I started by turning over the edges (apart from the top of the front piece) of all the pieces twice and machine sewing them so that they were neatened - n.b. the curve was only folded over once. I the folded the top of the front pieces over an inch and folded over again, then stitched, to make a channel for the waistband.
After this, it was time for the boning channels - 3 on each pocket hoop. These were 20" long x 1" wide (the width of the boning plus seam allowance). I used the sewing machine to stitch them to the front pieces, starting and finishing about an 1.5" from the edges. The first one was stitched 7" from the top (not taking into account of seam allowance here), the third at the bottom, and the middle place half way between.

I then hand sewed, with double thread, the back pieces to the fronts along the sides - the back pieces start at the bottom of the front pieces and finish roughly in line with the boning. The bottom pieces then followed - these needed a little easing as I sewed, but weren't too hard.
Once this was done, it was time to insert the boning into the channels. I had some steel boning left over from when I made my C16th Spanish farthingale so I used this - it measured about 1/2" wide. I cut six pieces at about 17.5" long (it is recommended that when boning anything, the bones are at least 1/2" shorter than the boning channel), and protected the ends with pieces of masking tape. After inserting them into the channels, I folded under the remaining channel fabric and stitched down.
As for getting your hands in...I cut a slit in the centre of the fabric of each pocket starting about 1/2" from the bottom of the waistband channel and finishing about an inch from the edge of the first boning channel. This was bound with some matching bias binding.
Once I has threaded through some cotton twill tape, the pockets were finished!
To get the measurements I stood in front of my mirror with a tape measure and played about to get the size I wanted. Excluding the boning channels, there are 3 pattern pieces to the pockets - the back, the front, and the bottom.
Back: 10" long x 9" wide.
Front: 19" long x 18" wide.
Bottom (a 'D' shape): 9" along the straight x 18" on the curve.
I used a striped heavy cotton (ticking) fabric as the hoops will be under a lot of pressure throughout use. First I started by turning over the edges (apart from the top of the front piece) of all the pieces twice and machine sewing them so that they were neatened - n.b. the curve was only folded over once. I the folded the top of the front pieces over an inch and folded over again, then stitched, to make a channel for the waistband.
After this, it was time for the boning channels - 3 on each pocket hoop. These were 20" long x 1" wide (the width of the boning plus seam allowance). I used the sewing machine to stitch them to the front pieces, starting and finishing about an 1.5" from the edges. The first one was stitched 7" from the top (not taking into account of seam allowance here), the third at the bottom, and the middle place half way between.
Once this was done, it was time to insert the boning into the channels. I had some steel boning left over from when I made my C16th Spanish farthingale so I used this - it measured about 1/2" wide. I cut six pieces at about 17.5" long (it is recommended that when boning anything, the bones are at least 1/2" shorter than the boning channel), and protected the ends with pieces of masking tape. After inserting them into the channels, I folded under the remaining channel fabric and stitched down.
As for getting your hands in...I cut a slit in the centre of the fabric of each pocket starting about 1/2" from the bottom of the waistband channel and finishing about an inch from the edge of the first boning channel. This was bound with some matching bias binding.
Once I has threaded through some cotton twill tape, the pockets were finished!
Friday, 4 January 2013
How to make your bum look big (on purpose)
Having acquired a copy of the V&A Nineteenth Century Fashion in Detail this time last year, I ended up falling in love with one of the 1880s outfits. As most people know, late C19th requires wearing a bustle...I didn't fancy making one of those. Instead I opted for a bustle pad used in the 1870s, but thought it would give a similar effect. There was a bustle in the aforementioned book which I wanted to copy.
I actually started making the bustle pad in April, but never got round to finishing it. I started with the two bottom pads and used the pattern from my 'petal bum' to make them. The bottom one being made a bit longer and the next one half the size in length. Like the original, I machine stitched them with an inverted French seam.
When I returned to them this year, I found that the bottom one was a bit too big and over-stuffed. To rectify this, I made it slightly more square by taking the curves in by about an inch, and (of course) taking some of the stuffing out.
Another problem I encountered was that I couldn't find the left over fabric to make the rest of the pads. Fortunately, the two pads I had already made were enough padding for me and gave the right shape.
I then attached the smaller pad to the bigger one. I pinned it 1" from the top of the big one and machine stitched it in place (about 1/2") and then pinned and stitched the bottom of the small one so it wouldn't flop about (does that make sense?).
The original bustle pad had ties for the waist and hips. I used some cotton tape for this and machine stitched them to the pad.
I actually started making the bustle pad in April, but never got round to finishing it. I started with the two bottom pads and used the pattern from my 'petal bum' to make them. The bottom one being made a bit longer and the next one half the size in length. Like the original, I machine stitched them with an inverted French seam.
When I returned to them this year, I found that the bottom one was a bit too big and over-stuffed. To rectify this, I made it slightly more square by taking the curves in by about an inch, and (of course) taking some of the stuffing out.
Another problem I encountered was that I couldn't find the left over fabric to make the rest of the pads. Fortunately, the two pads I had already made were enough padding for me and gave the right shape.
I then attached the smaller pad to the bigger one. I pinned it 1" from the top of the big one and machine stitched it in place (about 1/2") and then pinned and stitched the bottom of the small one so it wouldn't flop about (does that make sense?).
The original bustle pad had ties for the waist and hips. I used some cotton tape for this and machine stitched them to the pad.
How to turn a cheap blouse into a 1920s dress.
Firstly, I apologise for the extremely long break in posts - one excuse is being busy with events and making kit, the other being just too lazy to update...
But I will update you all on everything I've made since last July.
Let's get down to business on my most recent make - a 1920s dress. For Christmas I received Costume in Detail: Women's Dress 1730-1930. When I was flicking through it, I fell in love with one of the 1920s dresses. Now, due to my shape I tend to avoid the 1920s altogether, but it looked so simple to make as it gave measurements, and my Grandma had given me some old sheets to use for toiles - the striped ones being too good for such a purpose.
Looking at the design, the bodice of the dress is essentially a blouse worn back to front. I popped into my local supermarket and picked up a cheap blouse (a size bigger than I normally would have) costing me £4. When I got home, I cut off the collar, shortened the sleeves (going by the measurements in the book), shortened the length (going by the book), re-cut the neckline, and took out the darts. This fitted just how it should and I didn't have to make any complicated measurements or drawings.
I was then able to unpick the blouse so I would have my pattern pieces. I kept one sleeve, the pieces with the button holes on (I will cut off the buttons on the other piece before chucking it out!), and the back piece (now the front) which I cut in half so it can be cut on the fold.
I cut the pieces out of the fashion fabric, adding on an inch for the seam allowance, 1.5" to the hem, and an extra two inches for the centre back. I then reinforced the neckline by stitching along it 1/2" from the edge before sewing the side seams and shoulder. To neaten the seams, I folded each one over individually and stitched.
Next came the sleeves. Sew and neaten the side seam and then the cuff. For some reason the sleeve didn't fit in the armhole as neatly as it did on the blouse - there was more fabric - so I just added an inverted box pleat which did the trick and looks fine. The armhole seam allowance was trimmed to half and then zig zag stitched. For the centre backs, fold over an inch (right sides together) then fold over again. Stitch down at the top, trim seam allowance and then turn right side out. Iron the centre back flat down the length of the bodice.
For the neckline, I made a facing - a scrap of fabric with some iron on Vilene.The top edge matched the neckline of the bodice. The pieces were stitched right sides together, trimmed, and the curve clipped before being turned the right way and ironed flat. I then stitched the neckline to hold it in place, a few millimetres in from the edge should do it.
Then it was time for the piping, this was along the bottom edge. I have never sewn piping on a machine, so I did by hand and it didn't take too long either! I had allowed myself 1/2" for the channel. I marked this on the bodice (starting an inch up from the hem) and sewed the channel as I held the piping into place, adding extra stitched as the ends to stop it from sliding about.
Time for the two skirts. I followed the measurements in the book for these too. The longest measured 20" and the shortest at 14" (although mine is slightly shorter than that as I didn't want to waste fabric). As for the width, I used two widths of the sheet, but I would recommend anything from double the hem measurement on your bodice to allow for gathers.
I stitched the side seams, and neatened them, and then the hem. I then placed the two skirt together along the top and stitched them together 1/2" from the edge. To allow for ease when putting the dress on, I cut a slit 4" long in the centre of one of the halves of the skirt - this would be the centre back. I stay-stitched 1/4" from the edge and then bound it with some cotton tape. As for the gathers - the back half of the skirt is now essentially in two pieces. Gather each piece (from the side seam to the back) and pin to the bodice arranging the the gathers evenly and then stitch into place. Do the same for the front half of the skirt, gathering, and stitching it to the front half of the bodice. Once this is done, zig zag stitch the seam allowance and iron upwards into the bodice.
For the buttons, I used thirteen 1/2" self-cover buttons (according to the book), but ordinary buttons will also suffice if they match well. As for the button holes - the first measured 1" from the top edge and the rest from then on measured 1 1/4". This may be different for others depending on their size.
Next comes the belt loops. I used some leftover fabric/Vilene from the facing and cut two pieces 1" wide by 2" long. I ironed the long edges into the middle before folding the top and bottom edges and hand sewing them to the side seams, 2" from the piping. This is to hold a ribbon into place - anything from 1.5 - 2" wide.
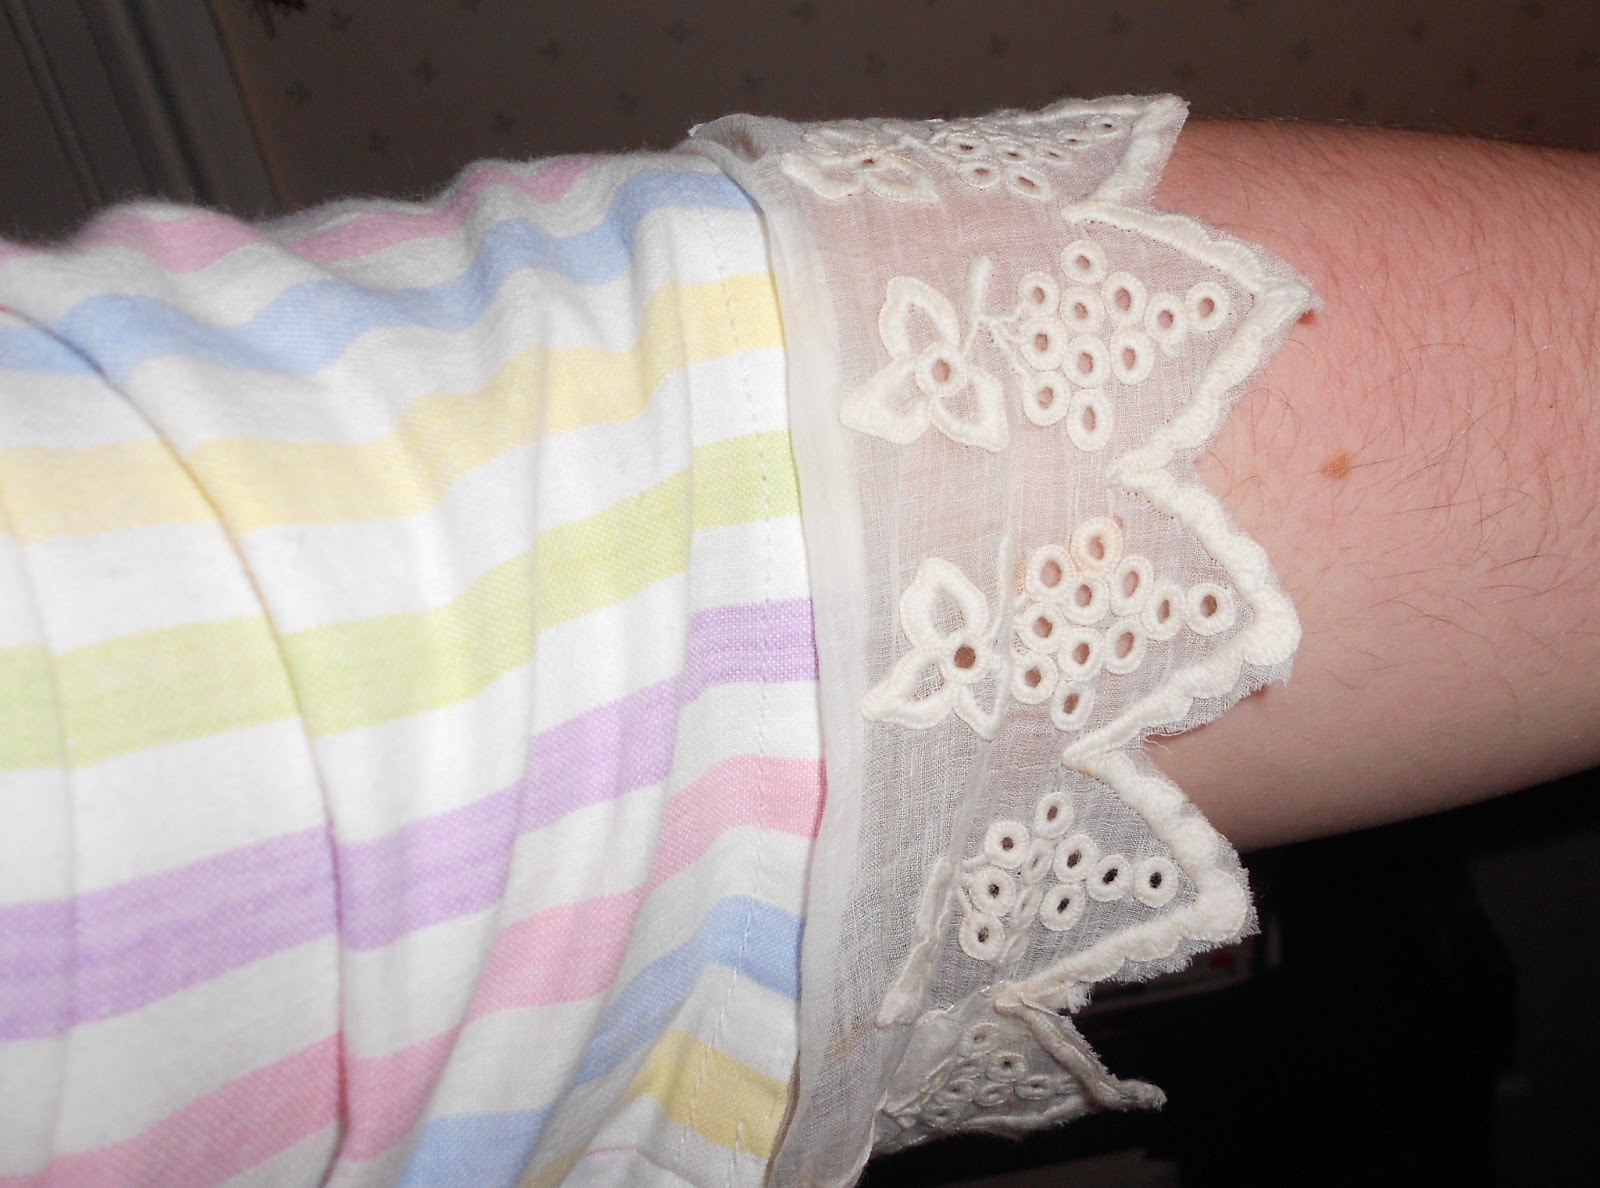
Lastly came the lace. The original dress has a 2" wide lace, fortunately I had some in my sewing box which pretty much matches the original. This was sewn around the collar and to the inside of the sleeves.

But I will update you all on everything I've made since last July.
Let's get down to business on my most recent make - a 1920s dress. For Christmas I received Costume in Detail: Women's Dress 1730-1930. When I was flicking through it, I fell in love with one of the 1920s dresses. Now, due to my shape I tend to avoid the 1920s altogether, but it looked so simple to make as it gave measurements, and my Grandma had given me some old sheets to use for toiles - the striped ones being too good for such a purpose.
Looking at the design, the bodice of the dress is essentially a blouse worn back to front. I popped into my local supermarket and picked up a cheap blouse (a size bigger than I normally would have) costing me £4. When I got home, I cut off the collar, shortened the sleeves (going by the measurements in the book), shortened the length (going by the book), re-cut the neckline, and took out the darts. This fitted just how it should and I didn't have to make any complicated measurements or drawings.
I was then able to unpick the blouse so I would have my pattern pieces. I kept one sleeve, the pieces with the button holes on (I will cut off the buttons on the other piece before chucking it out!), and the back piece (now the front) which I cut in half so it can be cut on the fold.
I cut the pieces out of the fashion fabric, adding on an inch for the seam allowance, 1.5" to the hem, and an extra two inches for the centre back. I then reinforced the neckline by stitching along it 1/2" from the edge before sewing the side seams and shoulder. To neaten the seams, I folded each one over individually and stitched.
Next came the sleeves. Sew and neaten the side seam and then the cuff. For some reason the sleeve didn't fit in the armhole as neatly as it did on the blouse - there was more fabric - so I just added an inverted box pleat which did the trick and looks fine. The armhole seam allowance was trimmed to half and then zig zag stitched. For the centre backs, fold over an inch (right sides together) then fold over again. Stitch down at the top, trim seam allowance and then turn right side out. Iron the centre back flat down the length of the bodice.
For the neckline, I made a facing - a scrap of fabric with some iron on Vilene.The top edge matched the neckline of the bodice. The pieces were stitched right sides together, trimmed, and the curve clipped before being turned the right way and ironed flat. I then stitched the neckline to hold it in place, a few millimetres in from the edge should do it.
Then it was time for the piping, this was along the bottom edge. I have never sewn piping on a machine, so I did by hand and it didn't take too long either! I had allowed myself 1/2" for the channel. I marked this on the bodice (starting an inch up from the hem) and sewed the channel as I held the piping into place, adding extra stitched as the ends to stop it from sliding about.
Time for the two skirts. I followed the measurements in the book for these too. The longest measured 20" and the shortest at 14" (although mine is slightly shorter than that as I didn't want to waste fabric). As for the width, I used two widths of the sheet, but I would recommend anything from double the hem measurement on your bodice to allow for gathers.
I stitched the side seams, and neatened them, and then the hem. I then placed the two skirt together along the top and stitched them together 1/2" from the edge. To allow for ease when putting the dress on, I cut a slit 4" long in the centre of one of the halves of the skirt - this would be the centre back. I stay-stitched 1/4" from the edge and then bound it with some cotton tape. As for the gathers - the back half of the skirt is now essentially in two pieces. Gather each piece (from the side seam to the back) and pin to the bodice arranging the the gathers evenly and then stitch into place. Do the same for the front half of the skirt, gathering, and stitching it to the front half of the bodice. Once this is done, zig zag stitch the seam allowance and iron upwards into the bodice.
For the buttons, I used thirteen 1/2" self-cover buttons (according to the book), but ordinary buttons will also suffice if they match well. As for the button holes - the first measured 1" from the top edge and the rest from then on measured 1 1/4". This may be different for others depending on their size.
Next comes the belt loops. I used some leftover fabric/Vilene from the facing and cut two pieces 1" wide by 2" long. I ironed the long edges into the middle before folding the top and bottom edges and hand sewing them to the side seams, 2" from the piping. This is to hold a ribbon into place - anything from 1.5 - 2" wide.
Lastly came the lace. The original dress has a 2" wide lace, fortunately I had some in my sewing box which pretty much matches the original. This was sewn around the collar and to the inside of the sleeves.
Saturday, 21 July 2012
A Pocketbook
Today I have whipped up an C18th pocketbook. I was going to do it last weekend during an event, but it got cancelled due to flooding.
I got my inspiration and basic ideas from this blog. I used the same measurements for the main pocketbook piece and then made an additional pocket based on the measurements I already had. For my pocketbook, I used some scraps of leftover linen - stripe from my skirt and plain white. I also used some tape for the binding.
The whole process is pretty simple. I first bound the two sides and bottom edge of the pocket flap and the top edge of the pocket (the one that was to be sewn on to the pocketbook itself). After this, I turned under the bottom edge of said appliqué pocket and sewed it to one end of the main pocketbook (about an inch in).
Now came the binding of the main pocketbook. My starting point was towards the end of one of the long sides, I did this so I could bind in the appliqué pocket as I went, and when I reached the short end, I bound in the pocket flap too. I followed the instructions of the aforementioned blog and made my lining slightly longer. As I reached the middle of my pocketbook, I box pleated the lining before continuing binding. I think that was the only fiddly bit I had to do!
I was then that I realised that the other end of my pocket book will look bare, so I cut a square of felt and sewed it to the stripy linen (avoiding the lining) so I had somewhere to put pins and needles. Once I had finished binding, I then folded in either end to create the main pockets. I left an inch gap in the middle of the pocketbook in total. Finally I added some ties to keep it all together.
I got my inspiration and basic ideas from this blog. I used the same measurements for the main pocketbook piece and then made an additional pocket based on the measurements I already had. For my pocketbook, I used some scraps of leftover linen - stripe from my skirt and plain white. I also used some tape for the binding.
The whole process is pretty simple. I first bound the two sides and bottom edge of the pocket flap and the top edge of the pocket (the one that was to be sewn on to the pocketbook itself). After this, I turned under the bottom edge of said appliqué pocket and sewed it to one end of the main pocketbook (about an inch in).
Now came the binding of the main pocketbook. My starting point was towards the end of one of the long sides, I did this so I could bind in the appliqué pocket as I went, and when I reached the short end, I bound in the pocket flap too. I followed the instructions of the aforementioned blog and made my lining slightly longer. As I reached the middle of my pocketbook, I box pleated the lining before continuing binding. I think that was the only fiddly bit I had to do!
Thursday, 19 July 2012
Finished Bonnet and Reticule
The ribbon came for my bonnet today and I bought a tassel for my reticule so I was able to finish off both items.
Wednesday, 18 July 2012
A Bonnet
This I had been putting off for a little while as I was a bit scared of making it! I did think about purchasing a plain one already made, but I was looking at about £40 by the time I had decorated it. So I went onto ebay and picked up a plain straw hat for £11. I got some remnant silk from a local silk shop for £3 and some binding from the haberdashers. The silk organza I already had. I think that comes to around £20 when I add the ribbon I bought online last night!

I looked at the various instructions of making a Regency bonnet on the internet, the best one being here. Before cutting the hat, I made the lining with the organza first so that it could be sewn in straight away when I had cut the hat (that was the scariest part!) I would recommend folding the hat in half and drawing a rough cutting line before actually cutting the hat. Note that the brim is curved at the bottom. I also cut a little out of the crown of the hat. I then stitched along the new edge, as the hat frays. Then I was able to sew on the binding to the edges, catching in the lining as I went.

Once I had bound all the edges, I stitched down the second row of gathers on the lining to the edge of the crown, this holds it into place. With the leftover lining I folded neatly into the hat and stitched it down so it wouldn't come loose. After this I made the silk cover for the crown. I measure from the centre to the edge (6.75"), doubled it and added an extra inch to get the diameter of the circle needed. I them found a very big bowl with the same diameter and used that as a template! I then gathered the silk, folded the edge in about an inch as I went along. I placed it over the crown and pulled the thread so it gathered to the right size and then stitched it to the hat.

All I have to do now is attach the ribbon when it arrives!
I looked at the various instructions of making a Regency bonnet on the internet, the best one being here. Before cutting the hat, I made the lining with the organza first so that it could be sewn in straight away when I had cut the hat (that was the scariest part!) I would recommend folding the hat in half and drawing a rough cutting line before actually cutting the hat. Note that the brim is curved at the bottom. I also cut a little out of the crown of the hat. I then stitched along the new edge, as the hat frays. Then I was able to sew on the binding to the edges, catching in the lining as I went.
Subscribe to:
Posts (Atom)